Installing a whirlybird requires careful planning and precise execution. We recommend that this installation is done by professional roofers following all the necessary safety measures as per the actual site requirements. Never try to DIY at your home.
Begin by selecting a suitable roof location for airflow and sunlight exposure. Gather essential tools, including a power drill, jigsaw, and straight edge level. Confirm proper safety equipment, such as gloves and goggles, is used throughout the process. Clear the installation area and remove the necessary tiles to access the attic space.
Align the flashing panel with side tiles and secure it using metal straps and screws. Mount the rotor head on the collar, taking care not to overtighten. Regular maintenance, including debris removal and lubrication, is vital for peak performance. The following sections provide detailed insights into each installation step.
Understanding Whirly Birds
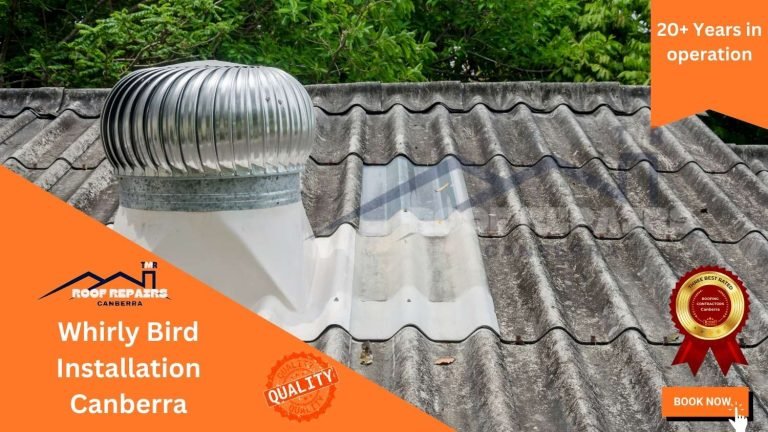
Whirlybirds, also known as turbine vents, are cylindrical roof ventilation systems that harness wind power to expel hot air and moisture from attics.
- These devices feature a dome-shaped metal head that rotates in the wind, creating a low-pressure zone to effectively draw stale air out of the attic without relying on electricity.
- Whirlybirds come in two primary types: passive (wind-driven) and active (motorized).
- Constructed from durable materials like aluminium or stainless steel, they can be painted to match roof aesthetics and vary in visibility based on the homeowner’s preference.
- In Canberra, whirly birds offer numerous advantages for homeowners, including improved energy efficiency and reduced cooling costs.
- The installation of whirlybirds offers several benefits, including enhanced indoor air quality, lower attic temperatures, and reduced workload on HVAC systems.
- This can lead to energy savings and increased comfort for occupants.
Proper installation and maintenance are essential for peak performance and safety.
Tools and Materials Required
What tools and materials are vital for a successful whirly bird installation? The primary components include two 12-inch black aluminium whirlybird turbines and a roof and flashing sealant for waterproofing.
- A power drill, jigsaw, and pry bar are essential for cutting and securing the vent into the roof structure. Additional tools like a hammer, tape measure, and straight edge level guarantee accurate measurements and stable positioning.
- The straight edge level is particularly important for verifying the correct installation angle, which impacts the whirlybird’s performance.
- Personal Protective Equipment (PPE), including goggles and gloves, is necessary to safeguard against potential injuries from sharp edges and debris during the installation process.
Having all these tools and materials on hand before beginning the installation will guarantee a smooth, efficient, and safe process.
Preparing the Installation Site
Proper preparation of the installation site is essential for a successful and safe whirlybird installation.
- Begin by ensuring all necessary safety equipment, including gloves and goggles, is readily available to protect against sharp edges and debris. Clear the roof area of any obstacles or loose materials to create a safe, accessible workspace.
- Identify the ideal location for the whirlybird, avoiding areas exposed to prevailing winds and street sides to maximize efficiency.
- Verify that soffit vents are correctly installed to facilitate sufficient intake airflow, vital for effective ventilation.
- Carefully measure and mark the precise position for the vent installation, taking into account the turbine’s dimensions and ensuring proper alignment with the attic space below.
These preparatory steps are important for ensuring a secure and efficient whirly bird installation that will provide long-lasting ventilation benefits.
Step-by-Step Installation Process
The step-by-step installation process for a whirlybird requires careful attention to detail and adherence to safety protocols.
Begin by selecting an ideal roof position that maximizes airflow and sunlight exposure for solar models. Remove two tiles to access the installation area and clear the flashing panel.
Fold the flashing panel to align with the side tiles and position the pitch collar, adjusting it to match the roof’s angle. Secure the collar and flashing panel using metal straps and screws, guaranteeing a watertight seal.
Finally, mount the rotor head on the collar, fastening it with self-tapping screws. Exercise caution not to overtighten and damage the base ring.
Throughout the installation, maintain proper safety measures and follow manufacturer guidelines to guarantee a secure and effective whirly bird setup.
Maintenance and Troubleshooting Tips
To guarantee the peak performance and longevity of your whirlybird, regular maintenance and prompt troubleshooting are vital. Conduct periodic inspections to identify and address potential issues:
- Remove debris, leaves, and dust accumulation to maintain ideal airflow.
- Check for rust or corrosion on metal components and apply rust-inhibiting paint as needed.
- Lubricate bearings with silicone-based lubricant if rotation becomes stiff.
- Verify the integrity of flashing and seals to prevent leaks and water damage.
Monitor the whirly bird’s operation for signs of malfunction, such as noise or vibration. In such cases, confirm all screws are tightened and the unit is securely mounted.
Regularly assess the spinning mechanism’s functionality, as smooth rotation is essential for effective ventilation.
Frequently Asked Questions
Are Whirlybirds Easy to Install?
Whirlybirds are generally straightforward to install for experienced DIY enthusiasts. However, professional installation is recommended to guarantee proper functionality, safety, and roof integrity. The process requires basic tools and careful adherence to safety protocols and manufacturer instructions.
Where to Install Whirlybirds on Roof?
Install whirlybirds at least 3 feet from roof edges, near the peak to maximize warm air extraction. Position them facing prevailing winds for best performance. Space multiple units evenly on larger roofs. Confirm proper soffit ventilation for balanced airflow.
How Much Does It Cost to Install a Whirlybird on a Roof?
The cost to install a whirlybird on a roof typically ranges from $300 to $1,000, including the unit and professional installation. Factors influencing price include whirlybird type (passive or active), roof complexity, and local labour rates.
Can You Put a Whirlybird on a Metal Roof?
Yes, whirlybirds can be installed on metal roofs. Specialized models designed for metal roofing guarantee compatibility and proper sealing. Installation requires precise cutting, appropriate flashing, and sealants. Confirm existing soffit or gable vents for maximum ventilation efficiency and safety.
Final Thoughts
The successful installation of whirlybirds greatly improves roof ventilation, reducing heat buildup and moisture-related issues. Proper selection, positioning, and installation techniques are critical for peak performance and longevity. Adherence to local building codes and safety protocols is essential throughout the process.
Regular maintenance guarantees continued effectiveness. By implementing the guidelines outlined in this installation guide, property owners can enhance their building’s energy efficiency and extend the lifespan of roofing materials.